Your first contribution
If you’ve signed up and been accepted as a Dbljump editor – thanks for joining our game history community! Now it’s time to take your first steps as a contributor.
Your onboarding to-do list
Section titled “Your onboarding to-do list”Visit the Dbljump Editor and you’ll see a checklist of onboarding steps. By completing these steps, you’ll become more familiar with your tools for creating and editing articles and archiving images. Follow the instructions below to work through the checklist.
Onboarding steps
Section titled “Onboarding steps”1. Visit the Dbljump Editor
Section titled “1. Visit the Dbljump Editor”It sounds easy, for an onboarding step. It is easy! But it’s also the best place to start.
Visit the Editor2. Search for an article to improve
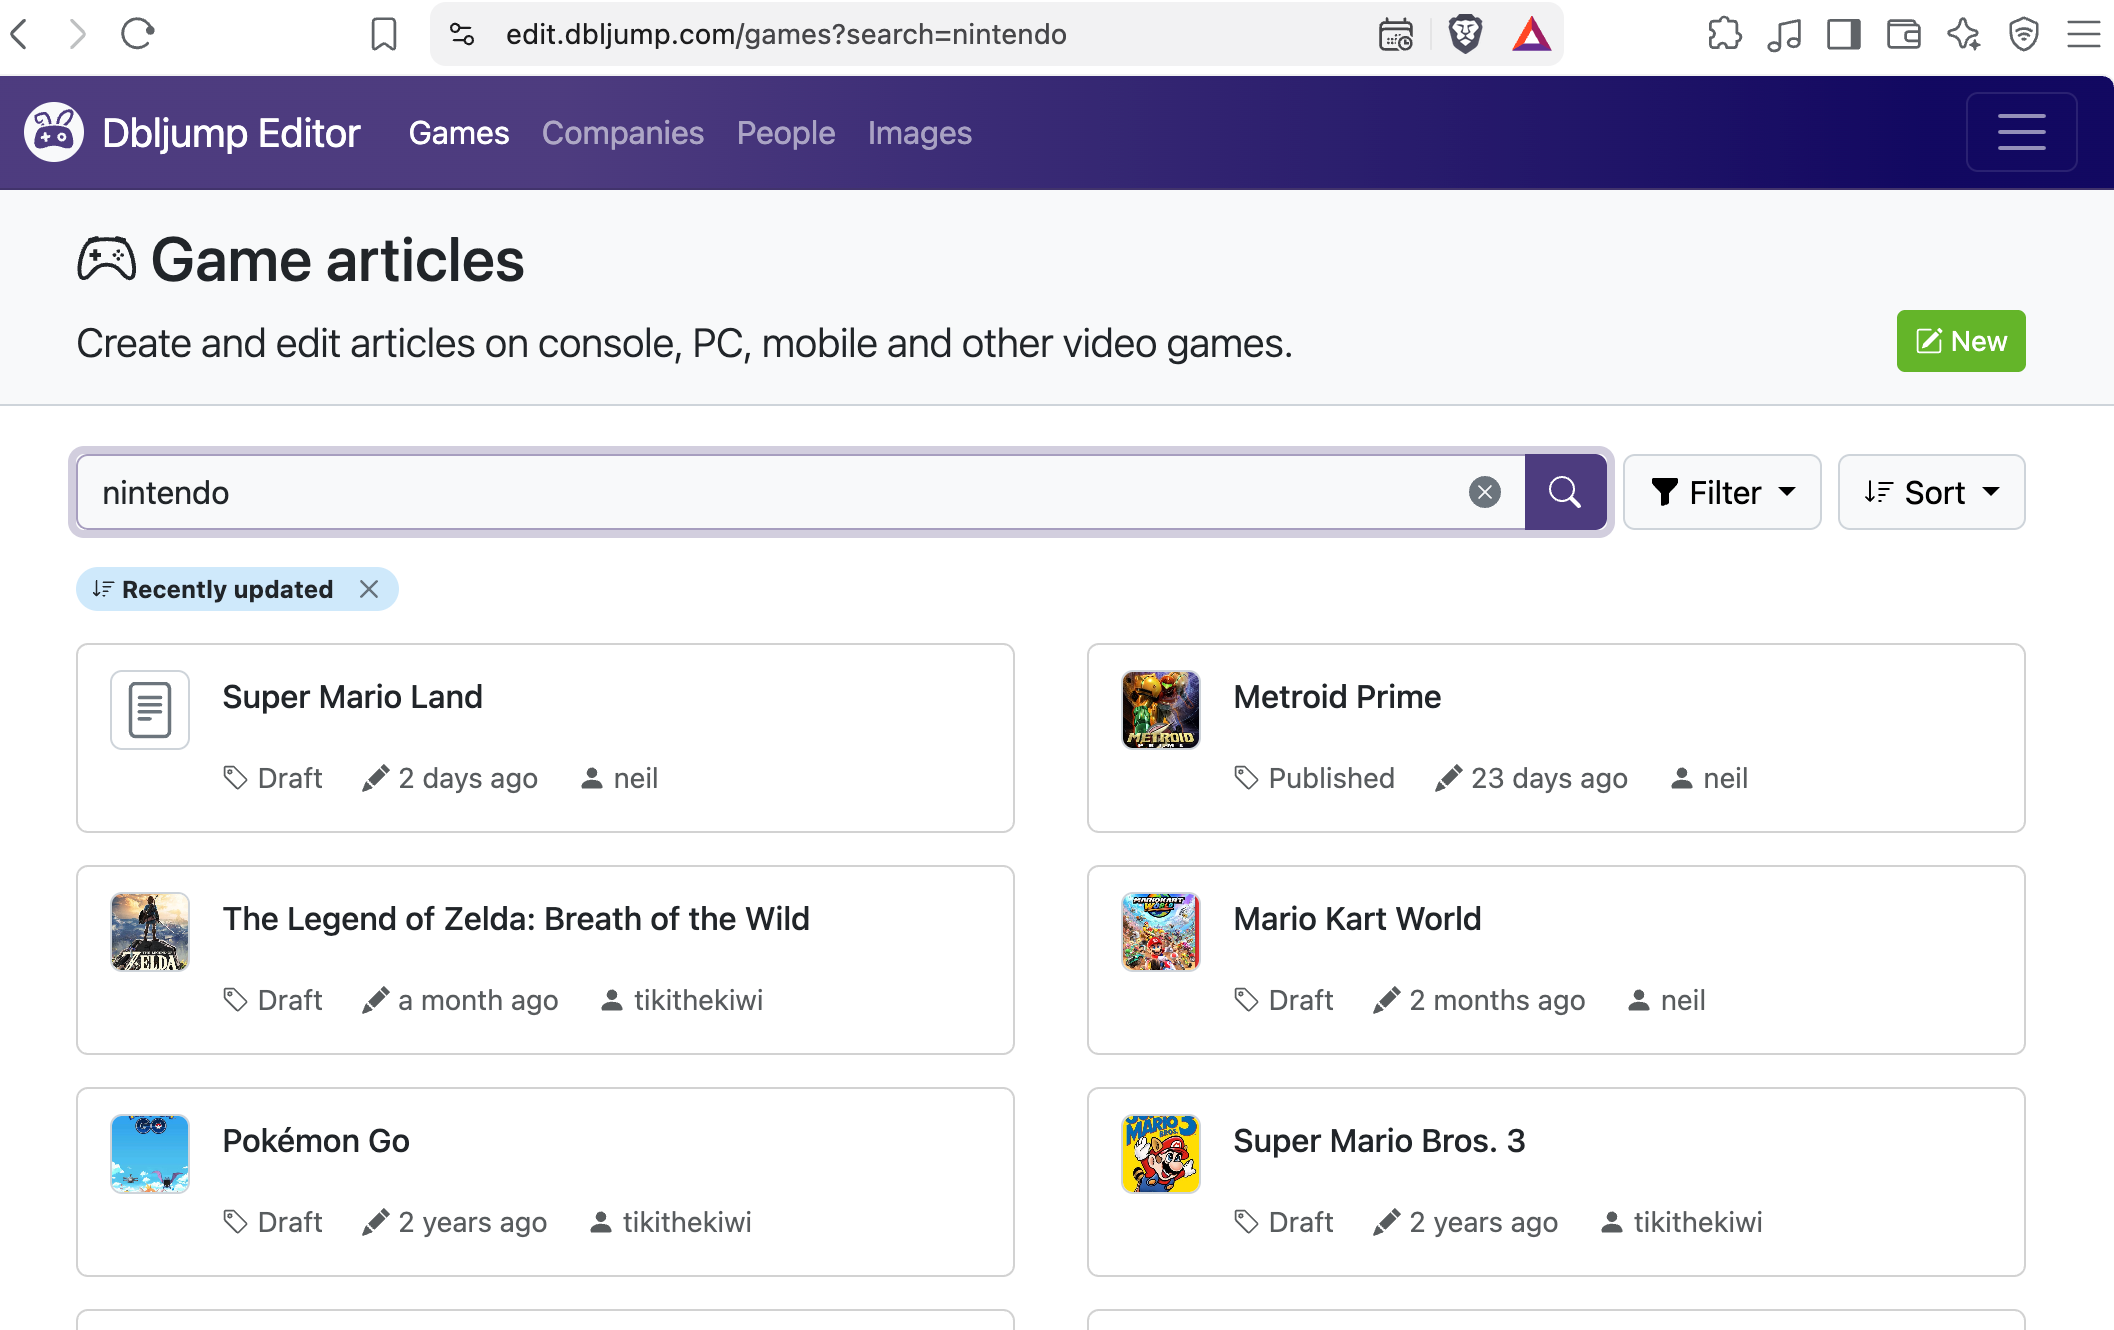
Section titled “2. Search for an article to improve”This next step takes you closer to making your first edit. In the Editor, visit the Games, Companies, or People index and use the search box to find an article that interests you – then click it.
3. Upload your first image
Section titled “3. Upload your first image”Video games are a highly visual medium, and we’re creating a categorized archive of images that make Dbljump articles more colorful and informative.
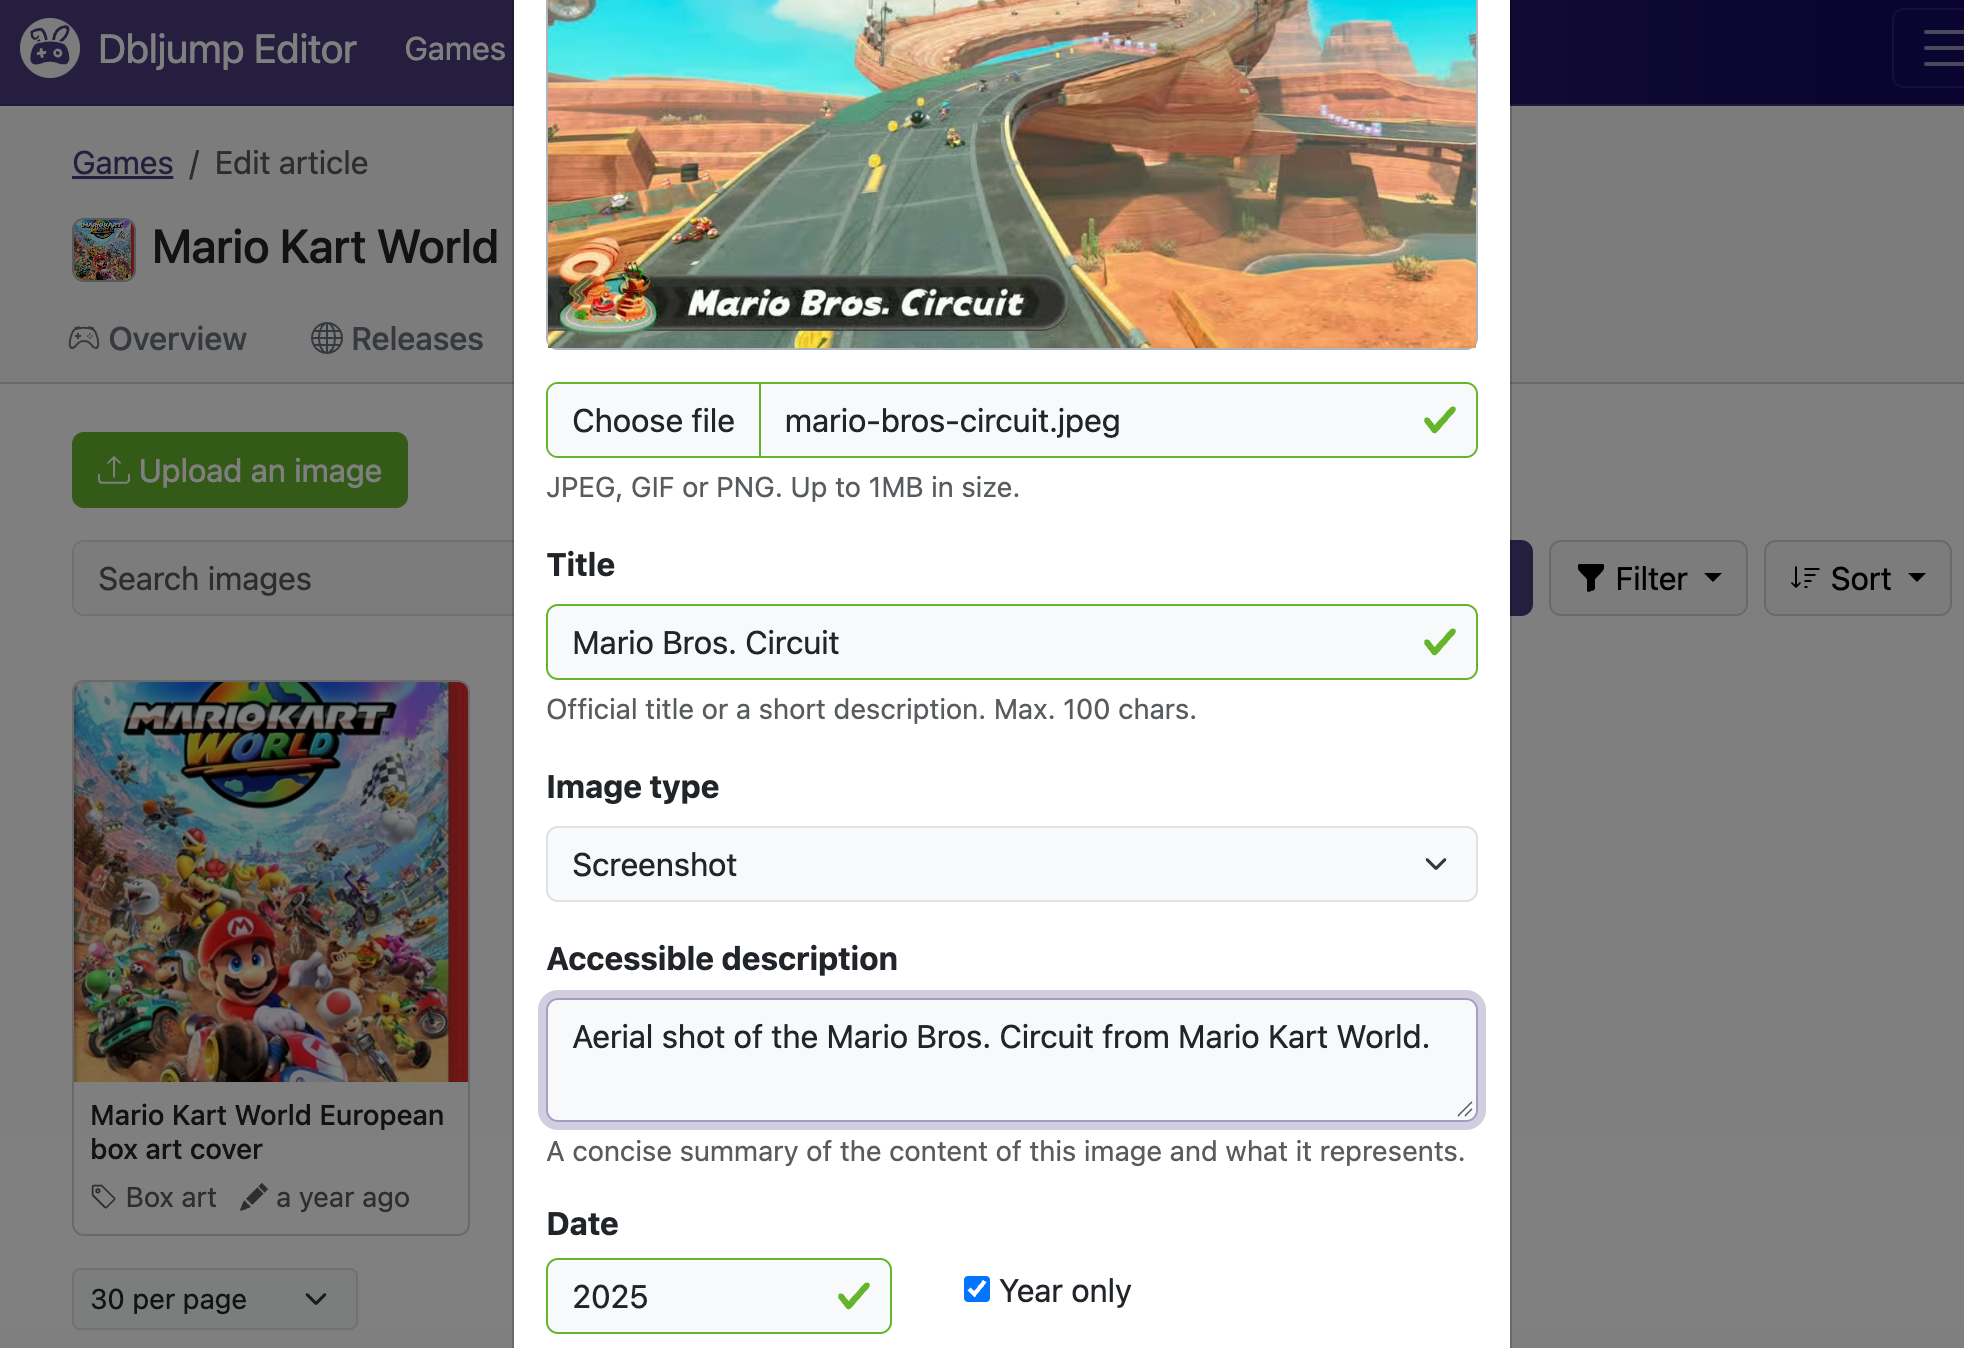
Here’s how to upload your first image and complete onboarding step 3:
- Choose an image that adds something useful to your article. Check where it came from and whether it is suitable for upload. The Uploading and using images guide is still being developed and will explain image rights, attribution, and preparation in more detail.
- Open the article’s “Images” tab, then click “Upload an image.” Uploading from inside the article links the new image to that article automatically.
- Choose your image file. The upload form accepts JPEG, GIF, or PNG files up to 1 MB in size.
- Describe the image. Enter a title, choose an image type, and add an accessible description of what the image shows. Add a date, year, or place if you know them and they are relevant.
- Record the source and rights information. Select the appropriate usage category and provide the source URL and copyright holder’s details. If the image has a Creative Commons license, select that license too. Check the source rather than guessing about the image’s rights.
- Check the details and click “Save.” Once the upload succeeds, check that the image appears in the article’s Images tab.
4. Add a sourced fact to an article
Section titled “4. Add a sourced fact to an article”This step looks like a sudden difficulty spike, but we promise it’s not.
Dbljump’s game, company, and person articles include text based on research, with citations readers can check. This is a cornerstone of how we plan to make Dbljump a trustworthy game history source for everyone.
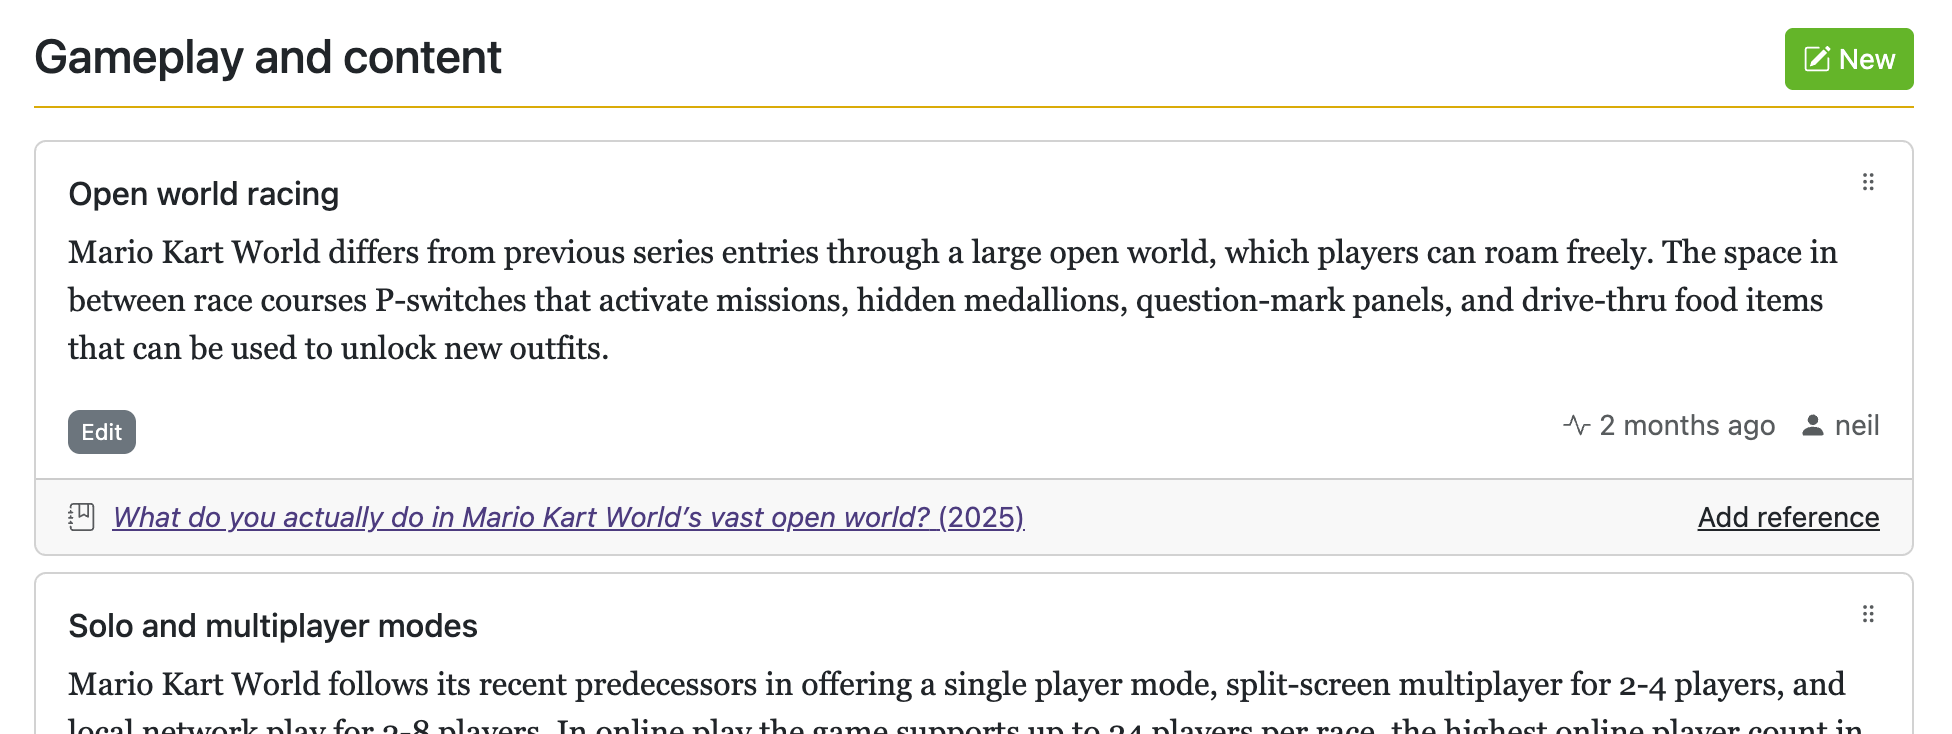
Here’s how to add a sourced fact by writing your first piece of article text:
- Inside your chosen article, click the “Text” tab.
- Find one useful fact supported by a reliable published source. Use your favorite search engine or a gaming news site to find information about the article’s topic. It could be about who composed the music, how many copies were sold in New Zealand, or another detail that interests you. Read the source and check that it supports the fact you want to add.
- Write the article text. Add a short passage in your own words, keeping it neutral and focused on what the source supports. See Writing article text for instructions.
- Add the citation. Name and link the source you used so others can check it and learn more about the topic. See Research and citations.
- Check and save your work. Confirm that the citation is linked to your text, then check the saved result on the public article. Saved article edits appear immediately – they do not normally wait for review.
5. Check out your work in the Dbljump encyclopedia
Section titled “5. Check out your work in the Dbljump encyclopedia”You visited the Editor. You found an article you wanted to improve. You uploaded an image and added sourced text. To end, let’s do something super easy.
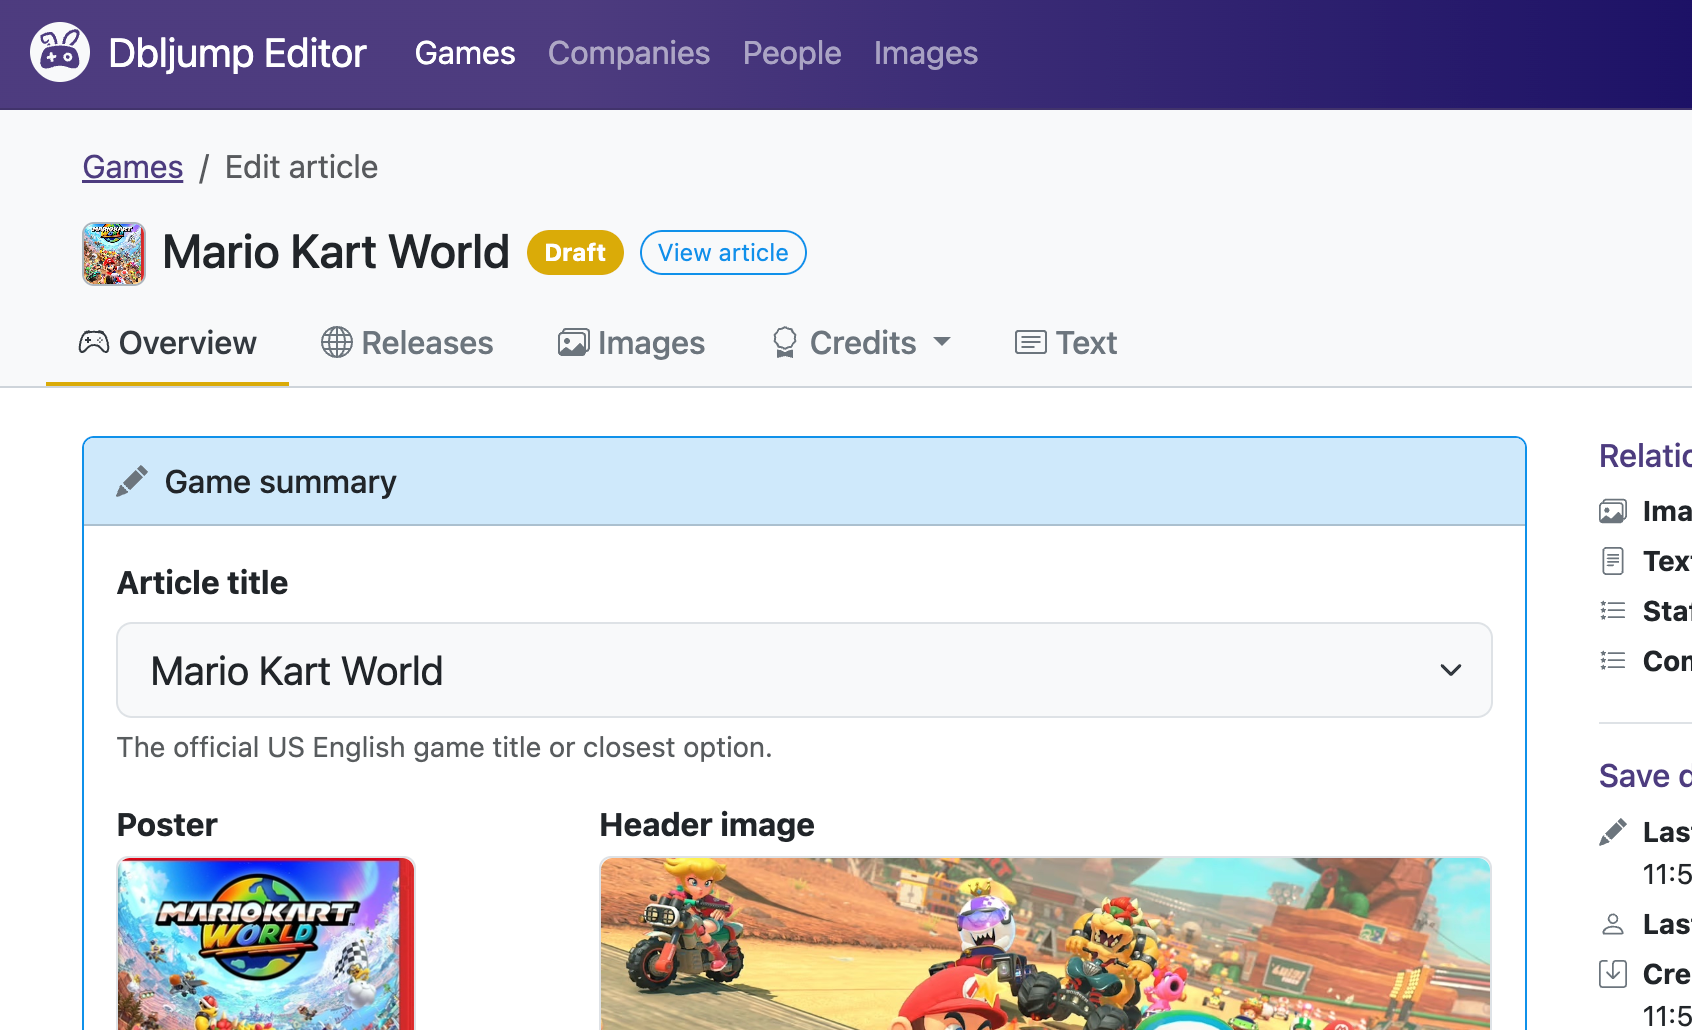
Click “View article” to see your changes on Dbljump.
Inside the article you’ve been improving, click the “View article” button near its title. You’ll see the result of your efforts in the public encyclopedia. Once all five steps are marked complete, your onboarding journey is finished.
Congratulations, you’ve completed editor onboarding
Section titled “Congratulations, you’ve completed editor onboarding”We really appreciate your contribution, and we’re delighted to have you as part of the community.
We hope you’ll come back soon, learn more about how to use Dbljump’s tools, and help grow our connected game history archive.